
How to Use Edible Markers for Writing on Cookies: Your Secret Weapon for Cookie Fame
Ready to turn your plain cookies into personalized showstoppers? Say goodbye to wonky piped icing letters that look like they were written during an earthquake!
Edible ink markers are here to save the day (and your sanity). Whether you’re scribbling “Happy Birthday” on sugar cookies or adding cheeky messages like “You’re One Smart Cookie,” these magical pens make cookie lettering so easy, you’ll wonder why you ever struggled with pastry bags.
Why Edible Markers Are Your New Best Friend
Let’s be real—piping perfect letters with royal icing is harder than it looks on Instagram. One shaky hand moment and “CONGRATULATIONS” becomes “CONGRAT… oops.” Edible markers eliminate that drama entirely. They work exactly like regular pens, except they’re food-safe and way more fun!
The beauty of these little miracle workers? You can write anything your heart desires. Elegant script for fancy wedding cookies? Check. Playful bubble letters for your kid’s birthday party? Double check. Inside jokes that’ll make your friends snort-laugh? Triple check. The ink flows smoothly, dries quickly, and gives you that “I’m basically a professional baker” vibe without the years of training.
Choosing The Right Markers
Not all edible markers are created equal. For cookie writing, you want fine-tip markers (0.5mm to 1mm) for most jobs—they’re perfect for names, dates, and small details.

For bigger, bolder statements (because sometimes you need to shout “CONGRATULATIONS” from the rooftops… or cookies), grab medium-tip markers (1-2mm). They’re perfect for headers and when you want your text to have some serious presence.
Here are my favorite brands: Wilton FoodWriter markers, AmeriColor Gourmet Writers, and Foodoodler pens. They’re FDA-approved, which means they won’t turn your cookies into science experiments. Nobody wants that plot twist at their party.
Prep Your Canvas Like a Pro
Unlike when we pipe letters onto cookies using icing, your cookie surface needs to be totally dry before using edible markers! We’re talking 12-18 hours minimum, sometimes up to 24 hours if Mother Nature is feeling extra humid.
Your icing should be completely solid. If it’s still even slightly tacky, your marker tip will sink into the surface like quicksand, and your beautiful lettering will turn into abstract art (and not the good kind). Do the touch test—if your finger leaves any impression, keep waiting. Trust me, the patience pays off.

Mastering the Art of Cookie Calligraphy
Writing on cookies with an edible marker is very much like writing on paper, so don’t get too stressed out over it! Here are my top tips:
Plan Before You Pen: Sketch your layout first (lightly!) or use a template. Nothing says “amateur hour” quite like running out of space and cramming “BIRTHDAY” into the corner with the last letters of “DAY” looking extra smooshed.
Pressure Points: Gentle pressure is your friend. Too heavy-handed and you’ll damage your perfect icing surface or push too much ink out of the marker. Too light and your letters will look like they’re whispering. Find that sweet spot.
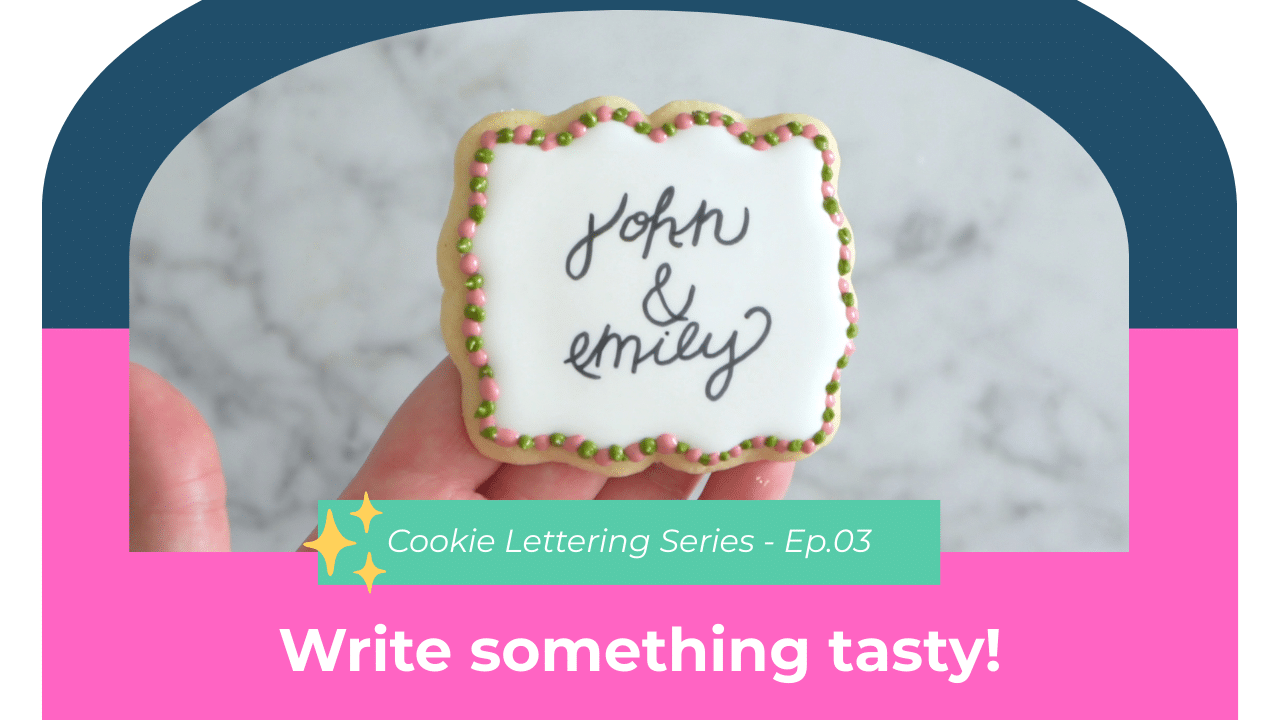
Style Choice: Cursive looks fancy and romantic (perfect for weddings), while block letters are bold and fun (ideal for kids’ parties). Choose your fighter based on the vibe you’re going for.
Creative Writing Ideas That’ll Make You Famous
Birthday Cookies: Go beyond basic “Happy Birthday.” Try “Another Year of Awesome,” “Aging Like Fine Wine,” or “Birthday Queen/King.” Age is just a number, but sass is forever.
Wedding Cookies: “Love is Sweet” is classic, but “Together Forever” or the couple’s names with their wedding date hits different. Make it personal, make it memorable.
Holiday Magic: “Merry Christmas” is nice, but “Santa’s Favorite” or “Naughty List Approved” adds personality. Holiday cookies should be as fun as the season!
Thank You Treats: “You’re Amazing” never goes out of style, but “You’re the Real MVP” or “Thanks for Being Awesome” shows you put thought into it.
Baby Shower Sweetness: “Bundle of Joy” is adorable, but “Future Heartbreaker” or “Worth the Wait” brings the charm factor up to eleven.
Level Up Your Lettering Game
Ready to show off? Try these advanced moves:
Color Layering: Write in one color, then add shadows or outlines in another. It’s like giving your text a personality makeover.
Decorative Touches: Add little flourishes, dots, or stars around your text. A few strategic sparkles can turn simple lettering into something Instagram-worthy.
Font Mixing: Combine script and print in the same message. Think fancy “Happy” with bold “BIRTHDAY”—it’s like mixing patterns in fashion, but for cookies.
When Things Go Wrong (Because They Will)
Ink Bleeding: If your letters look like they’re melting, your icing wasn’t dry enough. Try dusting the surface with a bit of corn starch afterward.
Smudge Drama: Don’t touch the text or package the cookies until it’s completely dry. Edible ink takes a few minutes to dry up!
Wobbly Letters: Practice makes perfect. Start with simple words before attempting the cookie equivalent of Shakespeare.
The Personal Touch That Changes Everything
Here’s the secret sauce: edible marker writing transforms ordinary cookies into extraordinary gifts. It’s the difference between “Thanks for the cookies” and “Oh my gosh, you wrote my name! This is so thoughtful!”
Every baker’s handwriting is unique—embrace yours! Whether you write like a fancy calligrapher or a friendly kindergarten teacher, your personal style is what makes your cookies special. With a little practice and a lot of personality, you’ll be creating cookies that taste amazing and make people feel seen.
So grab those markers, channel your inner artist, and start writing your way to cookie fame. Your taste buds (and your friends) will thank you!
Looking to learn more ways to write on cookies? Check out these posts!
